I got a Pico W and I’m trying to get started with AtomWM. I downloaded AtomVM-pico_w-v0.6.5.uf2 and atomvmlib-v0.6.5.uf2 from GitHub and I moved them to the board with cp:
I connected it to my Mac while pressing the button on it, and I could see it mounted at /Volumes/RPI-RP2.
How do I verify I did this part properly? The device automatically mounts it self at /Volumes/RPI-RP2/ now even even the button is not pressed? Is that correct?
Sometimes the Pico DFU can be frustrating, the drag and drop (or cp in the terminal) upload method is probably easier for kids or anyone just getting into microcontrollers, but you get no confirmation that the firmware was copied to flash successfully, or error if there was a problem.
Fortunately this is only during uploading the VM and libraries. When it comes to flashing your application we tried to make sure the rebar3 and mix plugins give you helpful error messages if flashing didn’t work. You also will not need to do the fiddling around with unplugging and pressing the boot button while you plug the usb back in, both plugins will reset the device to bootloader mode automatically.
Hope the rest of your adventure goes smoothly, and if not don’t hesitate to ask for help or let us know where you are having trouble! The more feedback we get, the better we can make the experience for everyone.
This does make me slightly suspicious that maybe the libraries did not flash correctly… The VM is obviously there, (but hello_world only relies on nif and/or bif functions in the VM). After flashing the device should show in /dev (I believe as a “modem” device on Mac, I use Linux and it presents a little differently there).
The initial flash of the VM is a 2 step process, first the VM. The device should unmount automatically after a few seconds, at which point you need to power cycle back into boot mode (with the button), and flash the libraries the second time the device mounts.
If you run into an error message that a particular function or module (that is part of the atomvmlib standard libraries) is undefined try reflashing just the libraries.
I got the blinky program to run as well without uploading the VM or the libs again, so I suppose it was uploaded correctly.
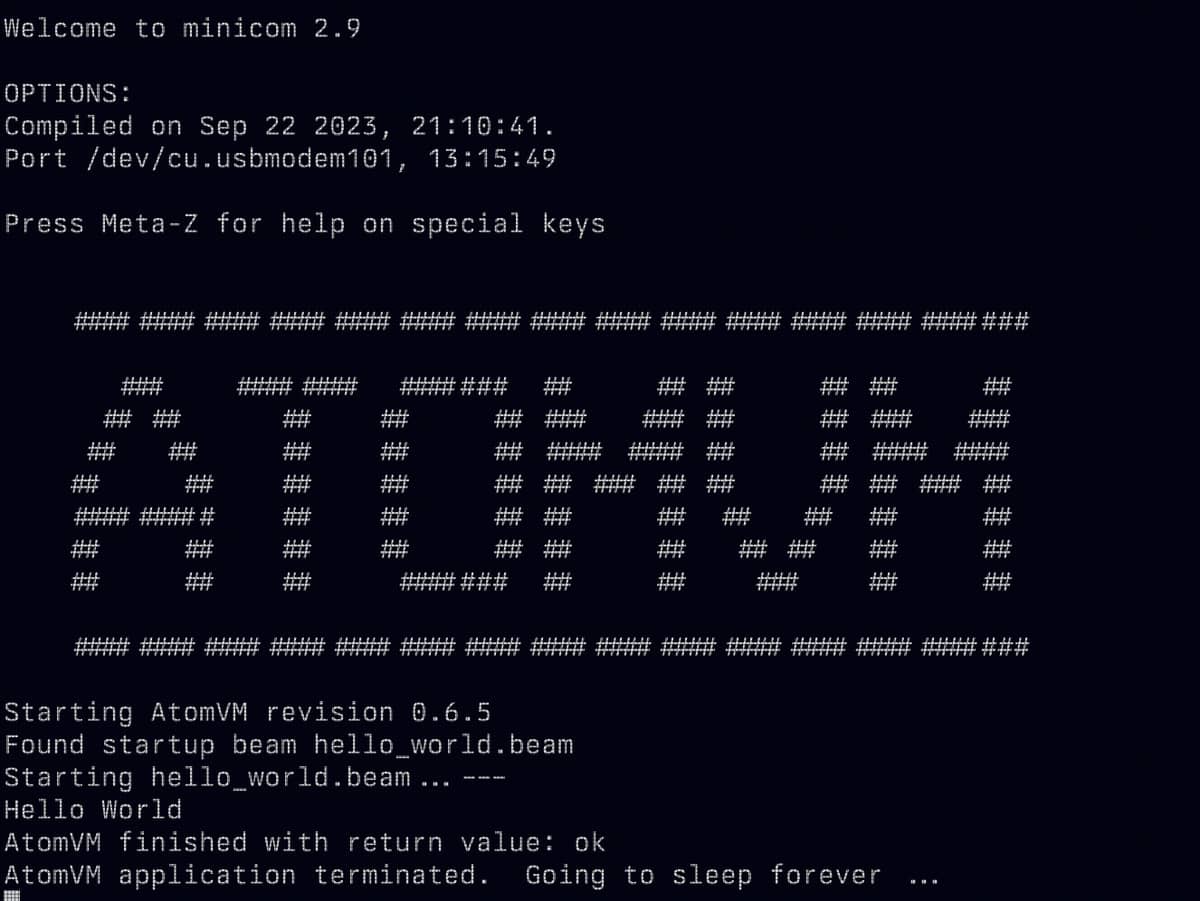
I think it would be helpful to add some notice short notice about how to use screen or minicom to see the console output, would certainly help folks like me that are just getting their feet wet with working with these microcontrollers
In order to flash new code to the board I have to run picotool reboot while pressing the BOOTSEL button and running rebar3 atomvm pico_flash.
Maybe I need to add picotool to my PATH for it to work automatically? I haven’t tried that yet.
In general I found it quite easy to get started with this and I’m looking forward to tinker with it. Would you recommend to use an ESP32 instead?
Blinky also just uses nifs, you will know for sure when you try to use lists, or maps modules
We do cover this in the Getting Started section of the docs, but in the RP2xxx section we only list screen or minicom under the requirements for viewing the console, without going into their use. Adding a notice to the flash tasks of the rebar3 and mix plugins would be a nice idea too! Would you mind opening an issue (bonus points for a PR addressing it ) in the plugin repo so we don’t forget to do this?
That will take care of it, it looks like I forgot to expose a way to specify the path to picotool, so presently it must be in the PATH.
So glad to hear this! If you do find our documentation lacking, unclear, or incorrect in any way, please let us know. Same with any tooling or general user experience problems/suggestions. We really want to make microcontrollers easy for anyone familiar with the BEAM to get started with, and conversely we want this to be a good learning environment for MCU users to learn about the BEAM. There are a lot of Micropython users out there struggling with concurrency issues that would have their minds blown by all of the other strength of the BEAM, beyond just solving those concurrency problems.
I would say use what you have to start with, but ESP32 support is considerably more mature than RP2. If you have an ESP32 on hand I would recommend using both! Many applications will work on both platforms without modification. There are many more peripheral drivers for ESP32 supported by AtomVM; I2C, SPI, ADC, LEDC, to name a few. The RP2 (both RP2040 and RP2350) currently only have GPIO driver, and a network driver for the Pico W. Network support for RP2350 (Pico 2W) is likely some time away, the task of adding the WiFI driver for the new devices was not a trivial change. I don’t want to discourage you from using the RP2 platform either, the only way these things improve is through use, testing, and user feedback. If we don’t get any issues opened on GitHub for the Pico it is easy for our small team to focus attention on other areas where we do get feedback
Got it running on both the pico W and an ESP32, got the network up and running the pico too!
I didn’t enjoy micropython at all, so that’s why I tried AtomVM on the pico board at first I already feel more confident with atomvm than I ever did with that python toolchain. My endgoal is to run gleam code (which is basically Erlang) on AtomVM
Apparently I managed to get the libs installed also, since I could use the lists module.
Also, picotool and esptool is available via brew on Mac so I could have skipped the steps of compiling those things myself.
I had to abandon minicom, I could not figure out how to exit that thing (kill to the rescue). I had no luck with any of the keyboard shortcuts mentioned around the net, but screen works just fine though and it exits automatically when the serial port closes.
There is no 1-wire lib right? Didn’t see it listed near i2c,spi,uart etc in the docs. Do you think bit-banging it via GPIO would work on the pico/esp32? I have bunch of DS18B20 sensors that would be cool to read.
Wonderful! Glad you got both boards working! Since you got the pico WiFi working for you, I assume you have them talking to each other already?
Hahaha , I had no idea you were one of the people I was taking about there! In this case I strongly recommend you “Learn You Some Erlang for Great Good!”!!! You can view it online for free at:
I found it an extremely valuable resource! I have a hard copy that I often refer to, several years into my Erlang learning journey.
Good timing! We should have some Gleam examples being merged into the AtomVM repo in the coming days, if not already by the time I write this… We should also have some added to the atomvm_examples repo soon.
You should be able to exit minicom by pressing:
CTRL-a (and then just) x
If that does not work pressing CTRL-a followed by zshould bring up the help menu. The help menu would show the shortcut for exit if it has been changed to another letter… This help menu is a bit misleading, you use the lowercase version of the letters (it displays them as capitals).
Correct, not yet anyway. I have never used 1-wire so I cannot give you a good answer for this yet. I would say you should open an issue in the AtomVM repo for 1-wire support. This will get the attention of more of the developers, and help us gauge interest. Someone might also be able to suggest a bit-bang workaround there, until a driver can be developed.
Thanks for all of your feedback so far! Looking forward to hearing about your future adventures.